How We Brought Automation Back to INOVUS — Building a Tony Stark Style Smart Room with ESP32 & Alexa
Building something is one thing. Making it reliable is real engineering.

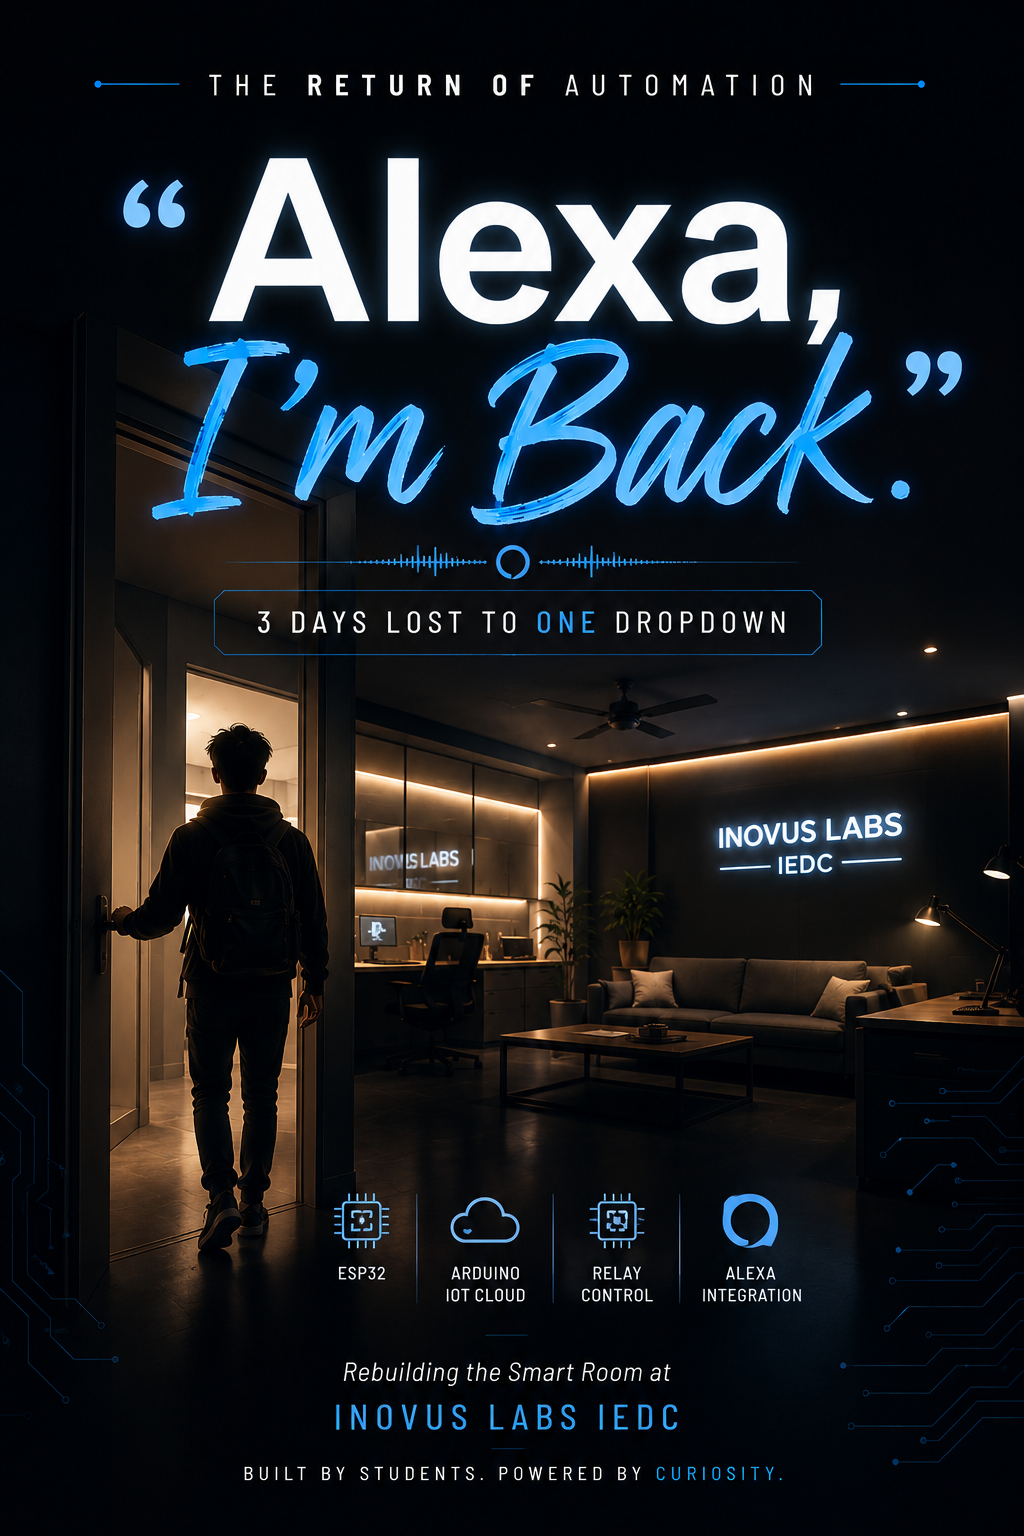
<span style="white-space: pre-wrap;">Image Generated by AI</span>
Published and syndicated from the Inovus Labs engineering publication by Amith Abey Stephen.
So this is the story of the automation setup at our Inovus.
When I had joined college, we had our Inovus renovated. After that, our seniors — Badhusha, Nikhil, and Arjun — together set up the automation system. Back then, I honestly didn’t know much about it. I only knew one thing:
It was connected to Alexa. And on voice commands… things triggered. That alone felt cool. After some months though, there were issues with triggering and reliability, and eventually the setup was paused.
Picking It Up Again
Around 8 months ago, I decided to take it up again. I went through the setup, understood how things worked, made some small changes, and got everything running again.
But there was still one annoying issue. To switch into “automation mode”, we had to manually turn ON two switches:
- One switch powered the microcontroller (ESP8266)
- Wait for it to connect to Wi-Fi
- Then trigger another relay to switch into automation mode
And if current went off and came back again? We had to repeat the entire thing manually.
Turn OFF.
Turn ON.
Wait.
Trigger again.
Every single time.
Not exactly “smart automation”.
The Day I Finally Got Irritated Enough
On May 13, after doing some soldering works and testing, I powered the setup ON again. That day the current kept going off multiple times. And every single time, I had to manually restart the automation flow again. After a point I was genuinely irritated. So I decided:
“Why not make this fully automatic?”
The idea was simple:
Whenever the microcontroller gets power,
instead of waiting for a manual trigger,
it should automatically switch the room into automation mode after booting. At the same time, I also wanted to solve another issue:
Sometimes our Wi-Fi goes down.
And when Wi-Fi dies…
Alexa automation dies with it.
So I planned to later add support for multiple Wi-Fi connections too.
How Our Automation Actually Works
In simple words:
- We have a microcontroller (ESP32/ESP8266)
- It connects to relays
- Relays control power switching
- The microcontroller connects to Wi-Fi
- Arduino IoT Cloud acts as the online bridge
- Alexa connects to Arduino IoT Cloud using Skills
- Voice commands update cloud variables
- ESP receives updates and triggers relays
So when I say:
“Alexa, turn on the lights”
This happens behind the scenes:
Alexa → Arduino IoT Cloud → ESP32 → Relay → Lights ON
Simple.
But insanely satisfying when it works.
So… How Can You Build This Yourself?
Here’s the exact beginner-level setup flow we used.
Requirements
You need:
- ESP32 / ESP8266
- Relay module
- Wi-Fi connection
- Jumper wires
- Basic electrical setup
Step 1 — Create Arduino IoT Cloud Account
Go to:
Create/Login to your account.
Step 2 — Install Arduino Cloud Agent
This is needed for browser uploads.
Download:
Install and run it.
You should see a small Arduino icon in your taskbar.
Step 3 — Add Device
A “Device” basically means your actual hardware board. When you create a device in Arduino IoT Cloud, you are telling the cloud:
“This hardware board belongs to this project.”
The device stores:
- Board type
- Device ID
- Secret keys
- Wi-Fi credentials
- Cloud configurations
Open:
Then:
- Add Device
- Choose Third Party Device
- Select ESP32 / ESP8266
- Choose your board
It’ll generate:
- Device ID
- Secret Key
SAVE THEM.
Step 4 — Create a Thing
A “Thing” is basically the project container.
It holds:
- Device
- Variables
- Dashboard
- Cloud logic
Open:
Create one. I named mine:
Inovus Room
You can use any name. Attach your ESP device.
Step 5 — Add Variables
Now create variables.
Variable 1
| Setting | Value |
|---|---|
| Name | bulb |
| Type | Boolean |
| Permission | Read & Write |
| Update Policy | On Change |
Variable 2
| Setting | Value |
|---|---|
| Name | fan |
| Type | Boolean |
| Permission | Read & Write |
| Update Policy | On Change |
Step 6 — Open Sketch
Open:
Arduino Cloud auto-generates files.
Mainly you’ll see:
.ino
Main execution code for ESP32
thingProperties.h
Auto-generated header file connecting your cloud variables
README.adoc
Basic project documentation
Then create a:
Secret file
This stores:
- Wi-Fi credentials
- Device keys
- Sensitive details
Do NOT make this public.
If someone uses your code,
they’ll need their own secrets file.
Updating the .ino File
Here’s the basic logic I used:
#define bulb_1 21
#define bulb_2 19
#define fan_1 18
#define fan_2 17
void setup() {
  initProperties();
  ArduinoCloud.begin(ArduinoIoTPreferredConnection);
  pinMode(bulb_1, OUTPUT);
  pinMode(bulb_2, OUTPUT);
  pinMode(fan_1, OUTPUT);
  pinMode(fan_2, OUTPUT);

  // DEFAULT ON
  bulb = true;
  fan = true;
  onBulbChange();
  onFanChange();
}

  void loop() {
  ArduinoCloud.update();
}

void onBulbChange() {
  digitalWrite(bulb_1, bulb ? LOW : HIGH);
  digitalWrite(bulb_2, bulb ? LOW : HIGH);
}

void onFanChange() {
  digitalWrite(fan_1, fan ? LOW : HIGH);
  digitalWrite(fan_2, fan ? LOW : HIGH);
}
The relay module mainly has:
- VCC
- GND
- Signal Pin
Signal pins connect to ESP GPIO pins. That’s how the ESP controls switching.
Step 7 — Add Secrets
Arduino Cloud will ask for:
- Wi-Fi SSID
- Password
- Device ID
Add them.
Step 8 — Upload
Click Upload.
Wait for:
Upload Successful
Best feeling ever.
Step 9 — Connect Hardware
Connect:
- Relay VCC → ESP 3.3V / 5V
- Relay GND → ESP GND
- Relay IN pins → GPIO pins from code
Step 10 — Test from Dashboard
Inside the dashboard:
Toggle:
- Light
- Fan
Your relays should trigger.
And there you go.
A basic IoT automation setup is done.
Pretty cool already.
But I Wanted More
At Inovus, we already had Alexa. So naturally… I wanted the full Tony Stark experience.
The dream was:
Open the door and say:
“Alexa, I am back.”
And the whole room wakes up from sleep mode.
Lights.
Fans.
Everything.
Like this:
Tony Stark Style Automation Reference
Absolutely awesome.
Integrating Alexa
For this:
- Install Alexa App
- Login
- Connect your Alexa device
Inside the app:
- Open “More”
- Go to “Skills & Games”
Search:
Arduino IoT Cloud
Enable the skill.
It’ll ask you to login to:
Use the SAME account you used for your project.
Then ask Alexa to:
“Discover Devices”
And Then…
Nothing.
No devices found.
At all.
But that wasnt how it should have worked!
The 3-Day Debugging Nightmare
I was genuinely confused.
Everything worked perfectly from the dashboard.
But Alexa discovered NOTHING.
I tried:
- Removing skill
- Re-adding skill
- Logging in again
- Same Wi-Fi
- Different Wi-Fi
- ESP8266 instead of ESP32
- Rebuilding setup
- ChatGPT debugging
- Comparing old setups
Still nothing.
For 3 days.
THREE.
I even thought:
“Maybe I should build a custom Alexa skill myself.”
That’s how desperate I got.
The Actual Problem
Finally, while debugging with ChatGPT again…
It noticed one tiny thing.
Inside Arduino IoT Cloud,
I had created variables as:
Boolean
But for Alexa integration,
they should actually be created as:
Smart Switch variables
The moment I changed that…
Suddenly I could see:
- Alexa Integration
- Google Home Integration
And I was like:
“BRUHHHHHHHHHH.”
3 days wasted.
Because of ONE dropdown selection.
And Then…
I asked Alexa to discover devices again.
And this time…
IT WORKED.
Everything appeared instantly.
Automation was BACK.
The Best Parts After Fixing Everything
1. Fully Automatic Boot
Earlier:
- Turn ON switch
- Wait for Wi-Fi
- Trigger relays manually
Now:
- Power comes
- ESP boots
- Automatically switches room into automation mode
Exactly how it should be.
2. No More Weird Flickers
The old setup had random flickering issues.
Now it’s stable.
Much cleaner behavior.
3. Better Understanding of Real Systems
This project taught me something important:
Building something once is easy.
Making it reliable is the real engineering.
Tiny issues matter.
Power recovery matters.
Boot timing matters.
Variable types matter.
Even dropdown selections matter apparently 💀
One More Funny Problem
There was also another issue.
One light switch became inverted.
When the switch was ON,
the light became OFF.
And vice versa.
Since it was a 2-way switch,
we manually inverted the wiring physically.
But after every automation setup…
It became inverted AGAIN.
So every time we finished setup,
we had to manually undo what we just did.
Peak engineering experience honestly.
Final Thoughts
What started as:
“Why is Alexa not discovering devices?”
became:
- a full rebuild,
- optimization journey,
- debugging marathon,
- and honestly one of the most satisfying fixes I’ve done recently.
And now…
Automation at INOVUS LABS IEDC is back again 🚀
This project reminded me that:
Sometimes the biggest problems come from the smallest settings.
And sometimes…
3 days of debugging ends with:
changing a single dropdown.
😭
But that’s engineering.
And honestly?
That’s the fun part.
And sometimes the best feeling in the world is finally hearing:
“Okay.”
click
Lights ON.
If you try building one yourself:
- start small
- stay safe with current
- don’t panic while debugging
- and remember…
If something isn’t working,
…it might just be one tiny setting hiding somewhere.
You can checkout the reel of automation here: instagram
Enjoyed this reflection?
Read community comments, responses, and join the discussion directly on Inovus Labs.
Discuss on Inovus Labs Blog