From Local Servers to Remote Access — Our Next Step
What started as local old-PC servers soon turned into trying remote access, SSH shortcuts, Tailscale, and random networking experiments — breaking things, fixing them, and slowly making our DIY servers accessible from anywhere.

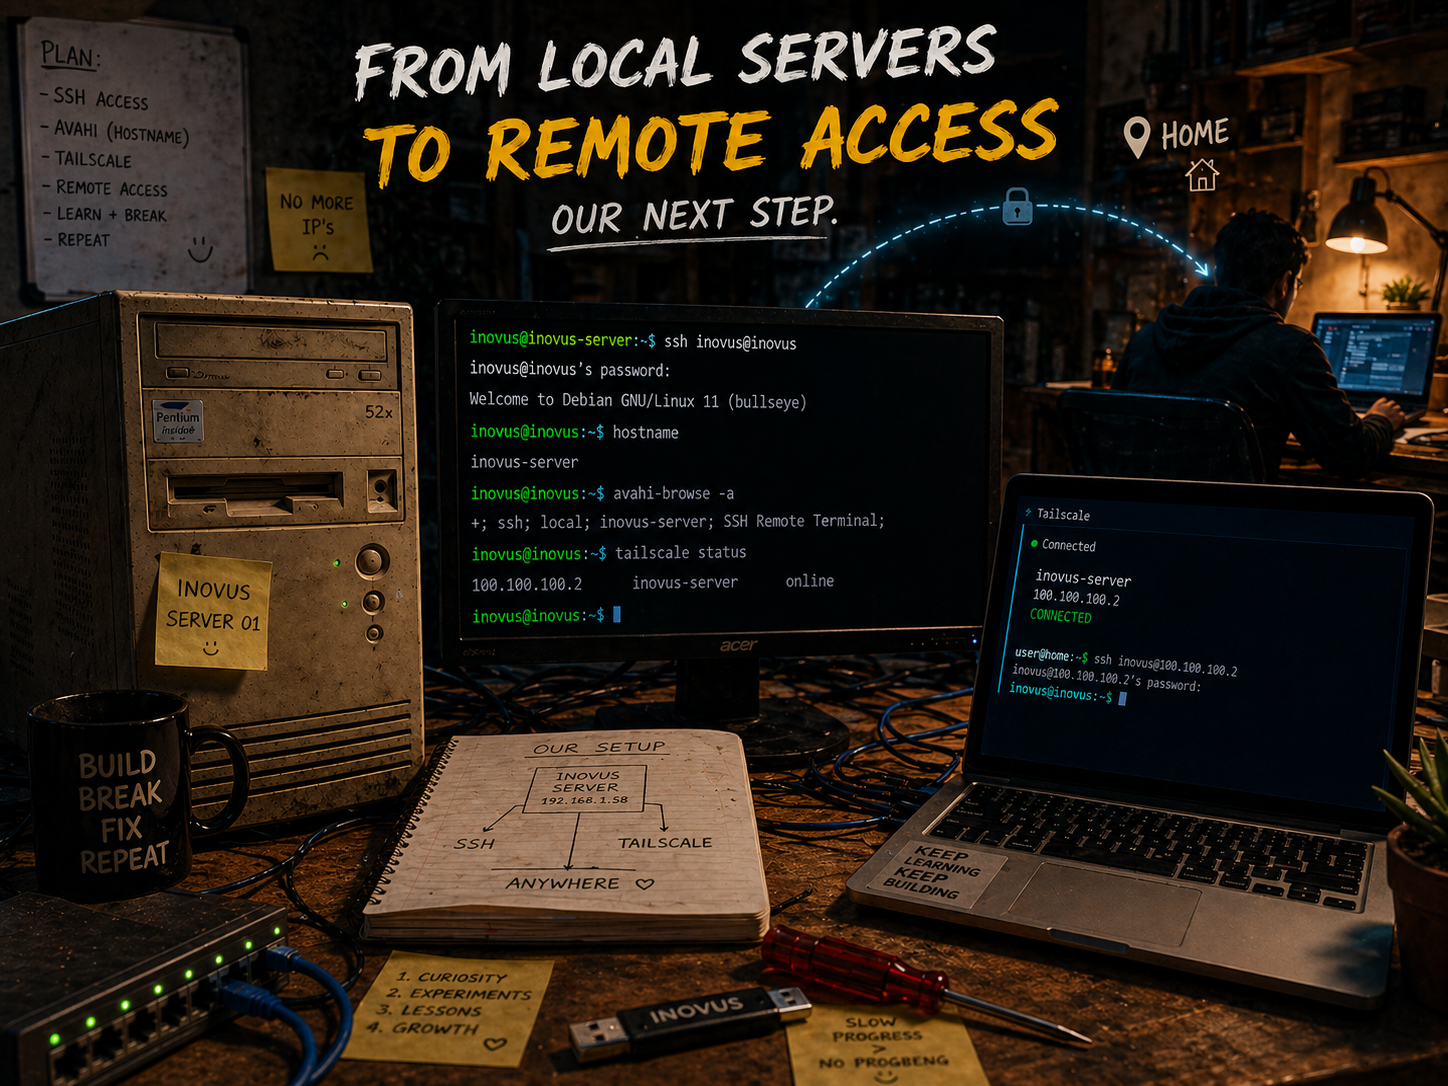
<span style="white-space: pre-wrap;">Image Generated by AI</span>
Published and syndicated from the Inovus Labs engineering publication by Amith Abey Stephen.
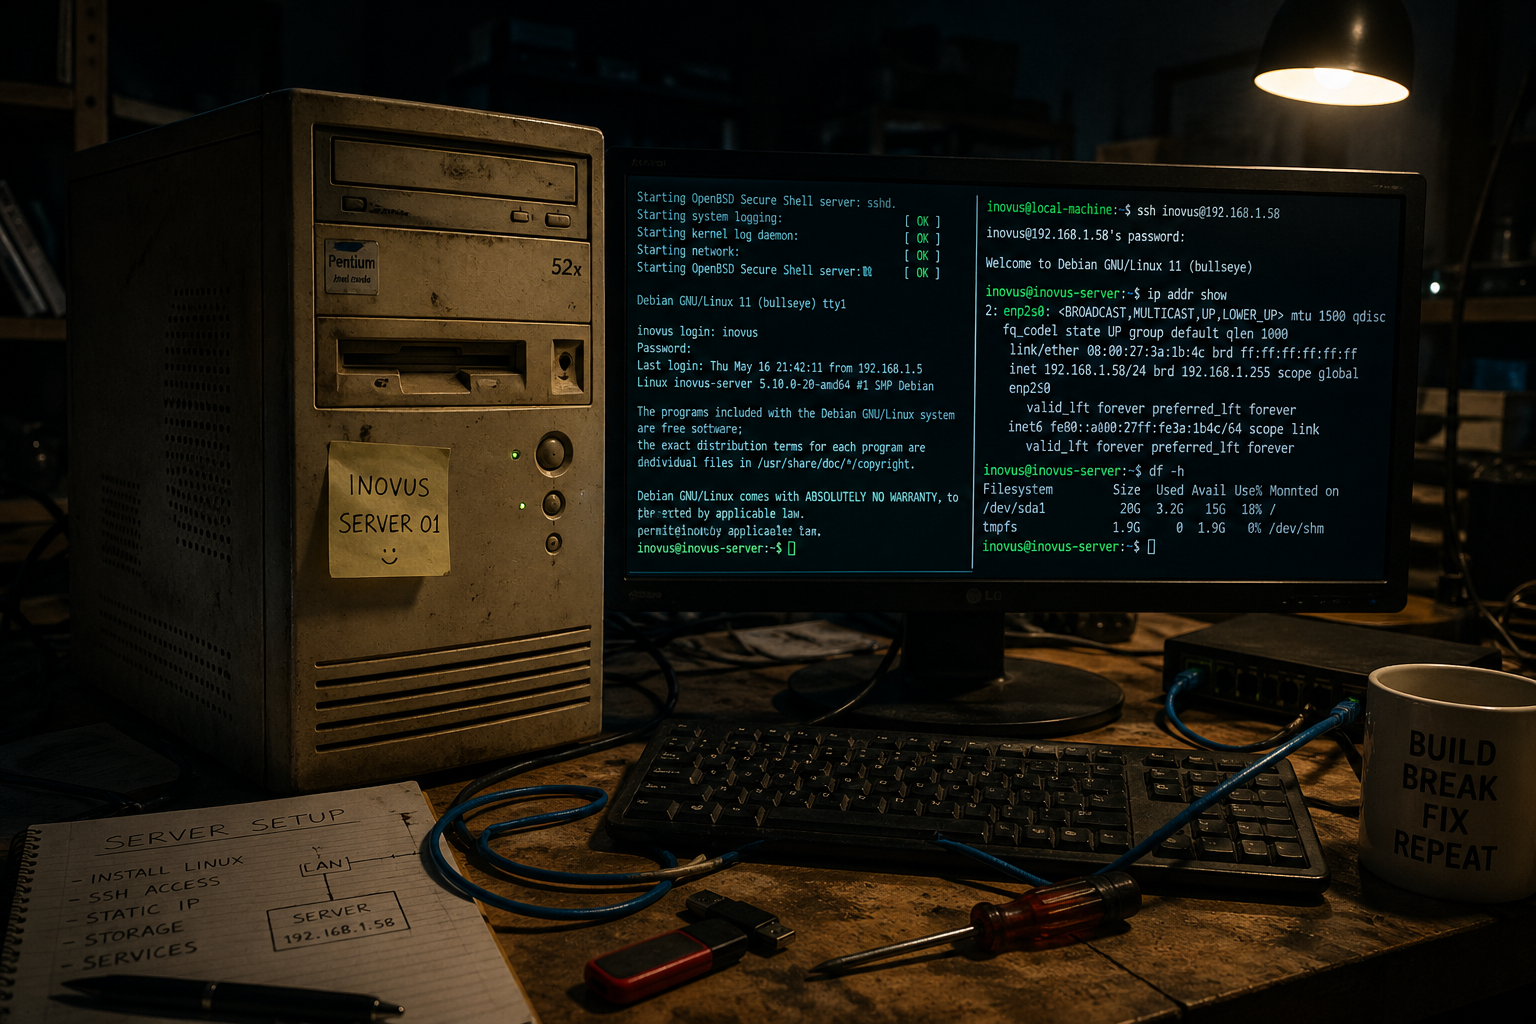
In the last part, we talked about how turning old junk PCs into servers somehow became a fun learning thing for us. And how we decided to convert two old systems into servers just out of curiosity.
Checkout the Part-1 of this blog by clicking below!
Everything was going good…until we realized one annoying problem.
IP addresses.
Every single time we wanted to SSH into the server, we had to remember the IP. And trust me…after some time all those 192.168.x.x numbers start looking the same 😭At first it was manageable. But later it became annoying. Especially when someone new wanted to try accessing the server. Every single person had to remember the IP or ask:
“bro what’s the server IP again?”
Now yes…there are many proper enterprise ways to solve this. But we didn’t want to install huge extra packages or setup complicated things. We just wanted something simple.
So obviously… I went to my go-to solution for literally everything:
ChatGPT 😭
And it suggested something pretty interesting. It said we could create a config file inside the .ssh folder of our personal system. Basically instead of remembering IP addresses every time, we could give the server a nickname.
Inside the SSH config file:
Host <name_we_use>
  HostName <IP_ADDR>
  User <username>
Example:
Host inovus
  HostName 192.168.1.58
  User ino
And this file should be saved as:
C:\Users\user_name\.ssh\config(For Linux users it’s usually inside ~/.ssh/config)
After setting this up…instead of typing:
ssh ino@192.168.1.58we could simply type:
ssh inovusAnd boom. Automatic connection. For me it felt like:
“damn ok this is actually cool.”
Simple. Clean. No remembering IPs. But there was still one issue.
Every new person interested in trying the server had to manually setup this config on THEIR own system.
Again and again. And we wanted something easier. Something where anyone joining the same network could instantly try connecting. Without configuring things manually.
And AGAIN…
we didn’t want heavy packages, but after searching around for a long time… we finally fixed something that matched what we needed.
And honestly this thing felt magical.
Avahi basically allows devices inside the same local network to discover each other using names instead of IP addresses.
Meaning instead of:
ssh ino@192.168.1.58we could do:
ssh ino@inovus.localOr depending on setup:
ssh ino@inovusAnd that just feels WAY cleaner. Setting it up was surprisingly simple.We installed it using:
sudo apt install avahi-daemonThen started the service:
sudo systemctl start avahi-daemonAnd enabled it on boot:
sudo systemctl enable avahi-daemonThat’s it. And guess what?
IT WORKED.
FIRST TRY 😭
Bro…
there’s a different level of happiness when something works on the first attempt itself. Especially after spending hours expecting errors. We were genuinely excited. No more remembering IPs. Now literally anyone connected to the same network could open terminal or CMD and type:
ssh ino@inovusand directly try accessing the server. And at that moment we were like:
“YES. Finally everything is properly setup.” …
Nah 😭 Not yet.
Because another question came.
“How do we access the server while sitting at home?”
The whole point of a server is that you can access it remotely right? Not only while standing inside INOVUS. So that’s when we started looking into remote networking solutions. There are many options for this. But we already had some experience using Tailscale before, so we decided to continue with that.
Now currently …
we had absolutely no clue how to properly set it up on the server 😭. Its been some time after the last setup adn lot of updates have come up!
At first we tried the classic method:
“bro install Docker and somehow run it inside container.”
And obviously…errors happened. Then finally we stopped trying random methods and actually read the docs 😭
And honestly?
The official setup was WAY simpler than we expected.
We just directly installed Tailscale on the server using:
curl -fsSL https://tailscale.com/install.sh | shThen enabled the service:
sudo systemctl enable --now tailscaledAnd then started setup:
sudo tailscale upThis prints a login URL.
You open it in browser, login using Google/GitHub/Microsoft etc…
and instantly the server joins your private Tailscale network.
That’s literally it.
To check the server’s Tailscale IP:
tailscale ip -4Now the coolest part? Since Avahi was already setup… we could continue using the same friendly names. Meaning from ANYWHERE we could simply do:
ssh ino@inovuswhile connected to Tailscale. And suddenly… distance didn’t matter anymore.
College.
Home.
Different WiFi.
Mobile hotspot.
Didn’t matter.
As long as:
- the server is ON
- connected to internet
- and Tailscale is active
we could access it from basically anywhere. And honestly… the first time you SSH into your own server from outside your local network?
It feels INSANELY cool. Like we have become an expert in it feel. #proudfeeling
Like:
“wait… I’m accessing the INOVUS server while sitting at home?”
It feels small. But also magical somehow. There were also a few extra things we setup later. Especially because these are old systems.
If you’re using an old laptop as server, two very useful things are:
1. Wake-on-LAN
This allows you to remotely wake up the system by sending a special network packet.
So even if the server accidentally turns off… you can power it back on remotely. Super useful.
2. Make laptop work with lid closed
Normally laptops go to sleep when the lid closes. Which is NOT what we want for servers. So we configure Linux to continue running even when the lid is shut. This way the laptop can quietly sit somewhere and continue acting like a server.
And if you’re using an old CPU instead of laptop…
honestly the best thing is:
keep it simple.
Less cables.
Less clutter.
Less unnecessary components.
Just let it quietly run. And that’s basically how we slowly converted old junk systems into usable servers. Not by knowing everything beforehand.
But by experimenting.
Breaking things.
Fixing things.
And slowly learning one step at a time. So if you also have an old PC lying around somewhere…
try it out.
Seriously. You don’t need expensive hardware to start learning. Even an old system can teach you networking, Linux, SSH, self-hosting, storage, DevOps basics and so much more.
And honestly…
once you setup your own first server… you start looking at old systems differently Instead of seeing “junk”…, you start seeing possibilities.
So yeah…
our basic setup finally became:
Our Old PC → Home Server Setup
- Install Linux Server OS
- Enable OpenSSH for remote access
- Setup
avahi-daemonfor name-based local access - Setup Tailscale for remote access from anywhere
- Configure extra things like Wake-on-LAN and closed-lid working
And somehow… what started as random curiosity became one of the most fun learning experiences for us. You guys should seriously try this on:
- old laptops
- unused CPUs
- Raspberry Pis
- or even old Android phones
Once you start… it somehow becomes addictive.
Enjoyed this reflection?
Read community comments, responses, and join the discussion directly on Inovus Labs.
Discuss on Inovus Labs Blog